What is the SEPA creditor identifier and how to use it for hassle-free collections
2026-01-28
Imagine your company needs a kind of ID card to be able to collect payments across Europe. Well, that is exactly what the SEPA creditor identifier is: a unique, mandatory code that identifies you as an authorised issuer of direct debits.
Without this identifier, you simply cannot submit collection batches or operate within the Single Euro Payments Area. It is the first requirement.
Why this identifier is the master key for your collections
The SEPA creditor identifier is much more than a simple string of letters and numbers. It is the pillar on which the entire direct debit system rests. You could think of it as a licence plate that identifies you unequivocally to any bank in the 36 countries that make up the SEPA zone.
This identification is essential to ensure security and to trace every transaction.
When a customer signs a direct debit mandate, they are giving you — and only you — permission to charge their account. The identifier ensures that no one else can use that authorisation in your name. If you want to learn more about this document, we recommend reading our article on what the SEPA mandate is and how it works.
In short, the creditor identifier links each collection to your company in an indisputable way. It is the guarantee that both banks and customers have that you are a legitimate creditor with permission to initiate collections.
Managing this code properly from the start will save you a lot of costly returns and administrative headaches. It is literally your passport to enter the European collections system.
Key functions of the SEPA identifier
Besides identifying you, this code fulfils several vital functions for the financial health of your business:
- Legitimacy and trust: It gives validity to your operations and shows that you comply with all European regulations. It is your seal of legitimacy.
- Operational security: It prevents fraudulent collections from being made in your name, since every batch you send must carry your identifier as validated by the bank.
- Full traceability: It allows banks to trace the origin of each direct debit easily, which greatly simplifies resolving any incident or return.
- Essential requirement: Without a valid and active creditor identifier, your bank will systematically reject any batch file you try to process. There is no alternative.
Understanding its importance is the first step to mastering direct debit management and ensuring your cash flow runs smoothly without surprises.
Understanding the anatomy of your SEPA identifier
At first glance, the SEPA creditor identifier may look like a meaningless string of characters. But nothing could be further from the truth. Each fragment has a specific purpose, like the DNA of your company for carrying out collections across Europe.
Breaking down this code is key to understanding its logic and operating with confidence.
Think of it as a car licence plate: it identifies you uniquely and allows you to travel legally on the European payments “motorway”. Each part of that plate tells a story about who you are and where you come from.
This diagram helps visualise how the identifier connects the three levels: the European framework, your company and the collection operation itself.
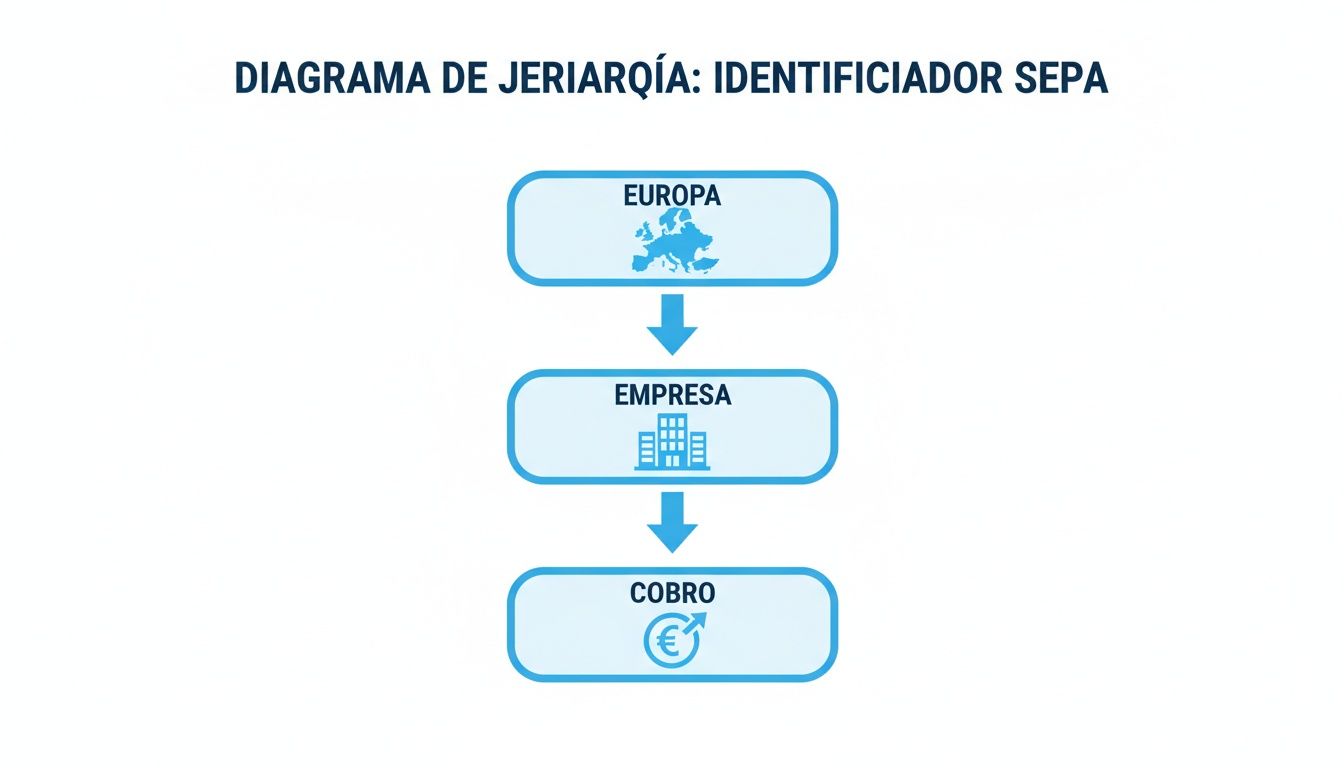
What we see is a clear flow: European regulation (SEPA) enables the company (through its identifier) to execute the collection. This creates a hierarchical and, above all, secure system.
Breakdown of the identifier structure
To understand it fully, let us dissect a standard Spanish identifier. You will see that it follows a fixed, standardised structure since SEPA regulation became mandatory for everyone.
The format of the SEPA creditor identifier in Spain was consolidated in 2014, coinciding with the deadline for full migration to the Single Euro Payments Area. Its structure is ESZZXXXAAAAAAAAA, where each part has a very specific meaning. You can check the details of that transition in the official bulletin on the SEPA “end date” published by BBVA.
Let us see what each part means. The following table breaks down the structure so there is no room for doubt.
| Component | Position | Length | Description | Example (for tax ID B12345678) |
|---|---|---|---|---|
| ISO Country Code | 1-2 | 2 | Identifies the country according to ISO 3166. For Spain, it is always “ES”. | ES |
| Check Digits | 3-4 | 2 | Figures calculated to mathematically validate the integrity of the identifier. | 22 |
| Business Suffix | 5-7 | 3 | Code to differentiate business lines. By default it is “000”. | 000 |
| National Identifier | 8-17 | 10 | The company’s tax ID (NIF/NIE), preceded by a zero if it has 8 digits. | 0B12345678 |
With this table, the structure becomes much clearer. Now let us look at each part in a bit more detail:
- Country code (Positions 1-2): The starting point. It is always the two letters of the issuing country. In our case, “ES”.
- Check digits (Positions 3-4): They act as a security mechanism. Their function is to ensure the identifier is valid and to help detect typos or transcription errors immediately.
- Business suffix (Positions 5-7): By default, your bank will assign you “000”. However, if your company has several branches or product lines, you can request additional suffixes (from “001” to “999”). This is very useful for organising internal accounting and knowing where each collection comes from.
- National identifier (Position 8 onwards): This is where your tax ID (NIF or NIE) goes. This is the part that links you unequivocally as a company or self-employed person to the identifier.
Mastering this structure allows you to visually validate an identifier almost at a glance. If it does not follow this format, it is an immediate warning sign that something is wrong, even before trying to process a batch.
If you need to validate the format instantly or calculate the identifier from your tax ID, you can do it for free with our SEPA Creditor Identifier calculator. Having this anatomy clear is essential: any error, however small, in one of these components will cause your bank to reject your collection files, with the delays and problems that entails.
How to request your SEPA creditor identifier from the bank
To start collecting payments by direct debit, the first step is to obtain your SEPA creditor identifier. This code is like the ID card of your business for issuing collections, and the only way to get it is through your bank.
Think of your bank not only as a provider, but as the authority that gives you the green light to operate with direct debits across the SEPA zone. Although it may sound like a complex procedure, it is actually quite straightforward if you know what steps to take and what documents to have ready. And the best part: once you have it, it is yours forever. It does not expire and you will not have to request it again if you ever decide to change banks.
Where do I start? Steps to request it
Each bank has its own system, but in practice the process for requesting the identifier is usually very similar across institutions. You have two main options.
1. Through your online banking: Nowadays, most banks allow you to manage this comfortably from your computer. Log in to your business portal and look for sections with names like “Collection management”, “Batches” or “SEPA files”. You will usually find a specific online form to register as a direct debit issuer.
2. In person at your branch: If you prefer face-to-face contact or cannot find the option on the website, your account manager is the person you need. They know the process inside out and will tell you exactly which form to fill in and what documentation they need to start the request.
A practical tip: First of all, call or email your account manager and ask how long they usually take to issue the identifier. It is not the same to have it in 24 hours as in a week, and knowing this will help you plan when you can send your first collection batch without surprises.
Key documentation they will ask for
For the bank to confirm that you are a legitimate company or self-employed person and grant you the identifier, they will need to verify some documents. If you prepare them in advance, the process will run smoothly.
This is what they almost always ask for: * Tax registration form (Model 036 or 037): The tax authority document that proves you are registered as a business or professional. Basically, it is the official proof that your business exists and operates legally. * Company incorporation deed: Essential if you are a limited company (S.L. or S.A.). The bank needs it to verify the company details and who has authority to act on its behalf. * ID of the director or authorised signatory: The person signing the request on behalf of the company must identify themselves. * Direct debit agreement: This is the contract you sign with the bank to start using their batch submission service. By signing it, you accept the terms and officially activate your account’s ability to issue direct debits.
Having this folder ready before you start will save you a lot of time and make the request a quick, straightforward procedure.
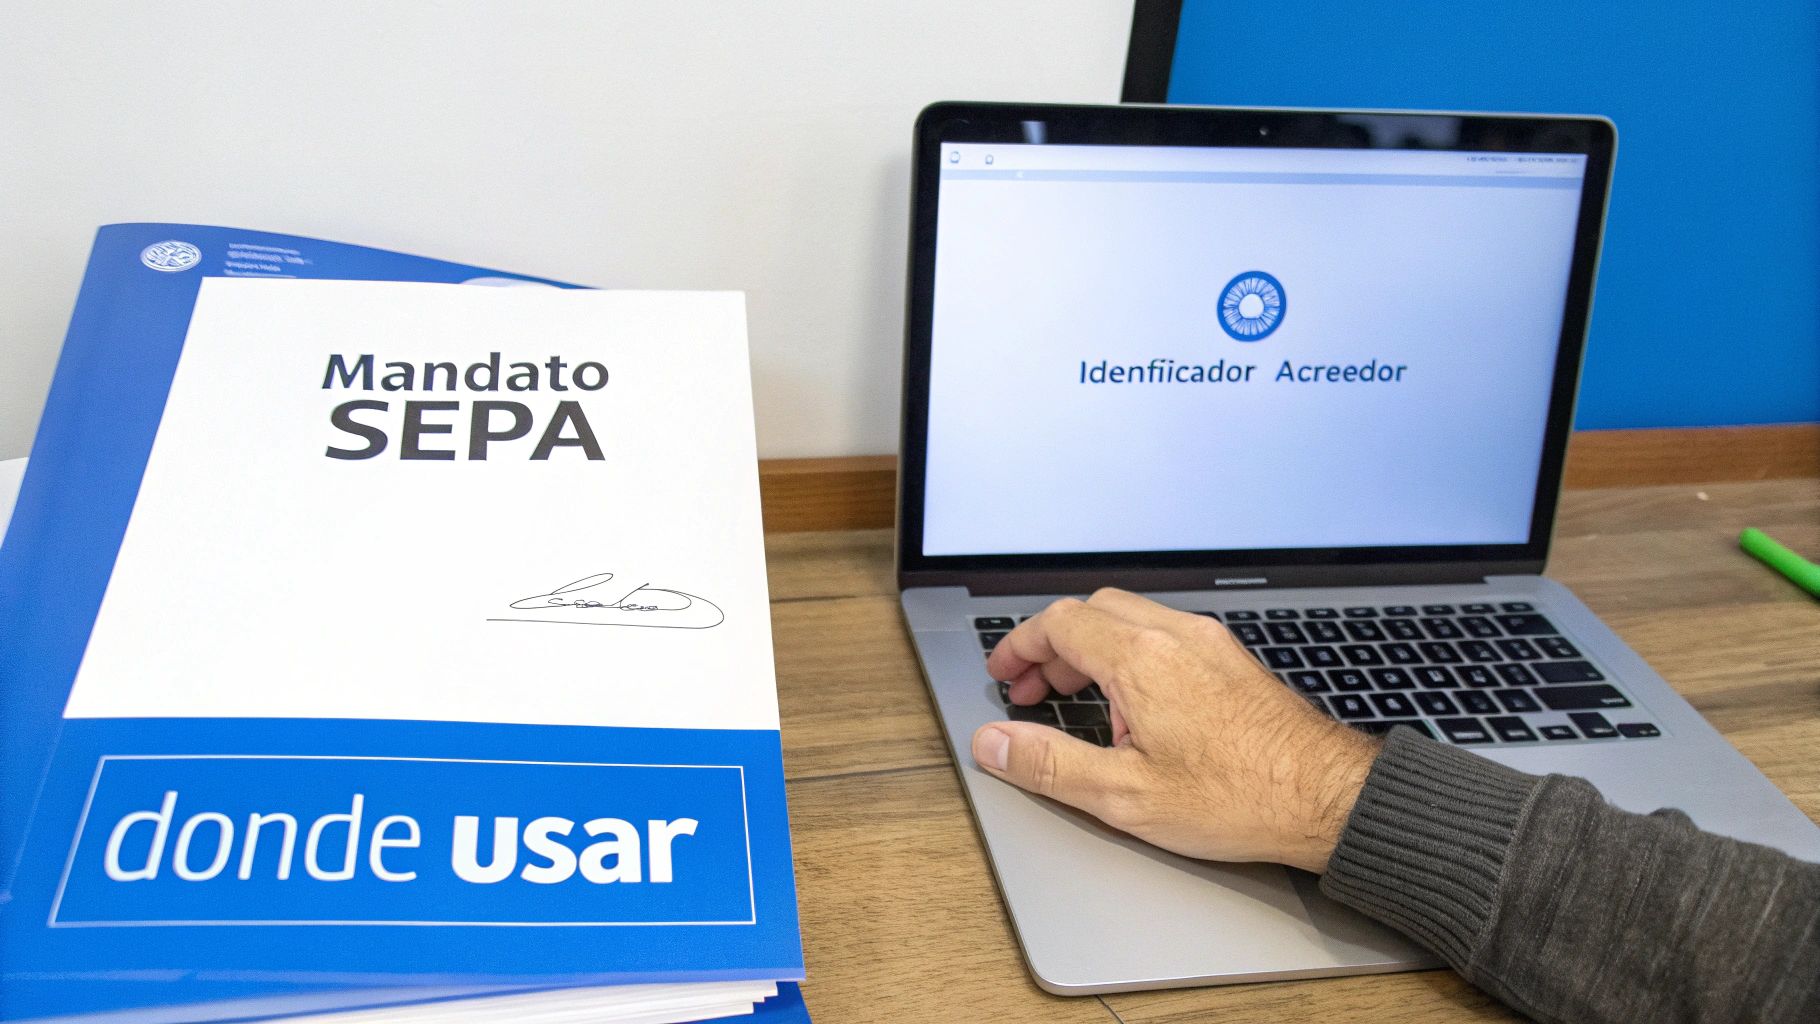
Where and how to use your identifier in practice
Obtaining your SEPA creditor identifier is only the first step. Now comes the important part: knowing how to use it correctly at each stage of the collection process. Remember that this code is not just a piece of data to file away, but a living element that must be present and consistent in all the documents and files you generate.
To give you an idea, your identifier is like a parcel tracking number. For the parcel to reach its destination, that code has to appear on the label, the delivery note and the carrier’s system. If something does not match, the shipment stops. With SEPA collections, the logic is exactly the same.
Your identifier in the SEPA mandate
The journey of your identifier begins with the SEPA mandate. This document is the fundamental piece, the signed authorisation with which your customer gives you the green light to charge their account. It is, in essence, the contract that legitimises the entire operation.
In this document, your creditor identifier is a mandatory field. It must appear clearly alongside your company details (name and address). When the customer signs, they are not only accepting the collection, but also associating it directly with you as the creditor, thanks to that unique code. To make sure your mandates always include the correct creditor identifier and every other required field, you can use our free SEPA mandate generator to create compliant documents in PDF format.
The SEPA mandate is the cornerstone of the entire system. If the identifier is incorrect or, worse still, missing, the authorisation is invalid from the outset. This could cause your customer’s bank to reject all future collections.
Your identifier in the bank batch file
Once you have the signed mandate in your possession, the next step is to generate the batch file that you will send to your bank so they can process the collections. This file, which almost always has the XML format (pain.008.001.02), is simply a set of technical instructions for the banking system.
Within the structure of this file, which may seem complex at first glance, your identifier has a reserved place of the utmost importance. You will find it in the header, under an XML tag called <Id><OrgId><Othr><Id>, which serves to identify the “Creditor” of the entire batch.
Take a look at this simplified example of how it would look in the XML code:
The bank uses this field to perform a crucial check: to verify that you, the account holder sending the file, are the same creditor as on the customer’s mandate. If the identifier in the XML does not match the one your bank assigned you, the entire batch will be rejected immediately.
Consistency is therefore the golden rule. The same identifier must appear, without variation, in these three places: 1. In the creditor registration that you managed with your bank. 2. In the SEPA mandate that your customer has signed. 3. In the XML batch file that you generate for each set of collections.
To stay on the safe side and avoid errors when creating these files, especially if you are starting from a spreadsheet, it will be very useful to know what data your direct debit CSV file must contain so that the conversion to XML is perfect. A simple typo in this code can bring your entire cash flow to a halt.
How to avoid validation errors with digital tools
Managing technical data like the SEPA creditor identifier by hand is asking for something to go wrong. One character in the wrong place, an extra digit or a misplaced space can bring down an entire batch, which means wasted time and, of course, money.
Fortunately, technology has come to the rescue. There are specialised digital tools that act as a prior quality check, ensuring that all data complies with strict SEPA regulations before the file reaches the bank. No more crossing your fingers when you send collections.
These platforms turn the task of creating an XML file, which used to be an error-prone maze, into a simple, guided and much safer process.
Smart data mapping from a simple Excel file
For many SMEs and self-employed professionals, the basis for preparing a batch is a simple Excel spreadsheet or CSV file. This is exactly where a tool like ConversorSEPA shines, acting as an expert translator between the format you work with every day and the technical language the bank requires.
The process is what we call “mapping” the data. In practice, it is as simple as telling the platform which column in your Excel corresponds to each SEPA field:
- Creditor Identifier: You tell it which column contains your SEPA identifier.
- Debtor IBAN: You do the same with the column that contains your customers’ account numbers.
- Payment Amount: You point to the column with the amounts to be collected.
- Mandate Reference: And finally, you connect the column with the unique reference for each mandate.
The following image gives you an idea of how a clean interface helps you do this “mapping” without having to touch a single line of XML code.
The platform not only places each piece of data in the right place, but also validates it as it goes. It becomes your first line of defence against silly errors.
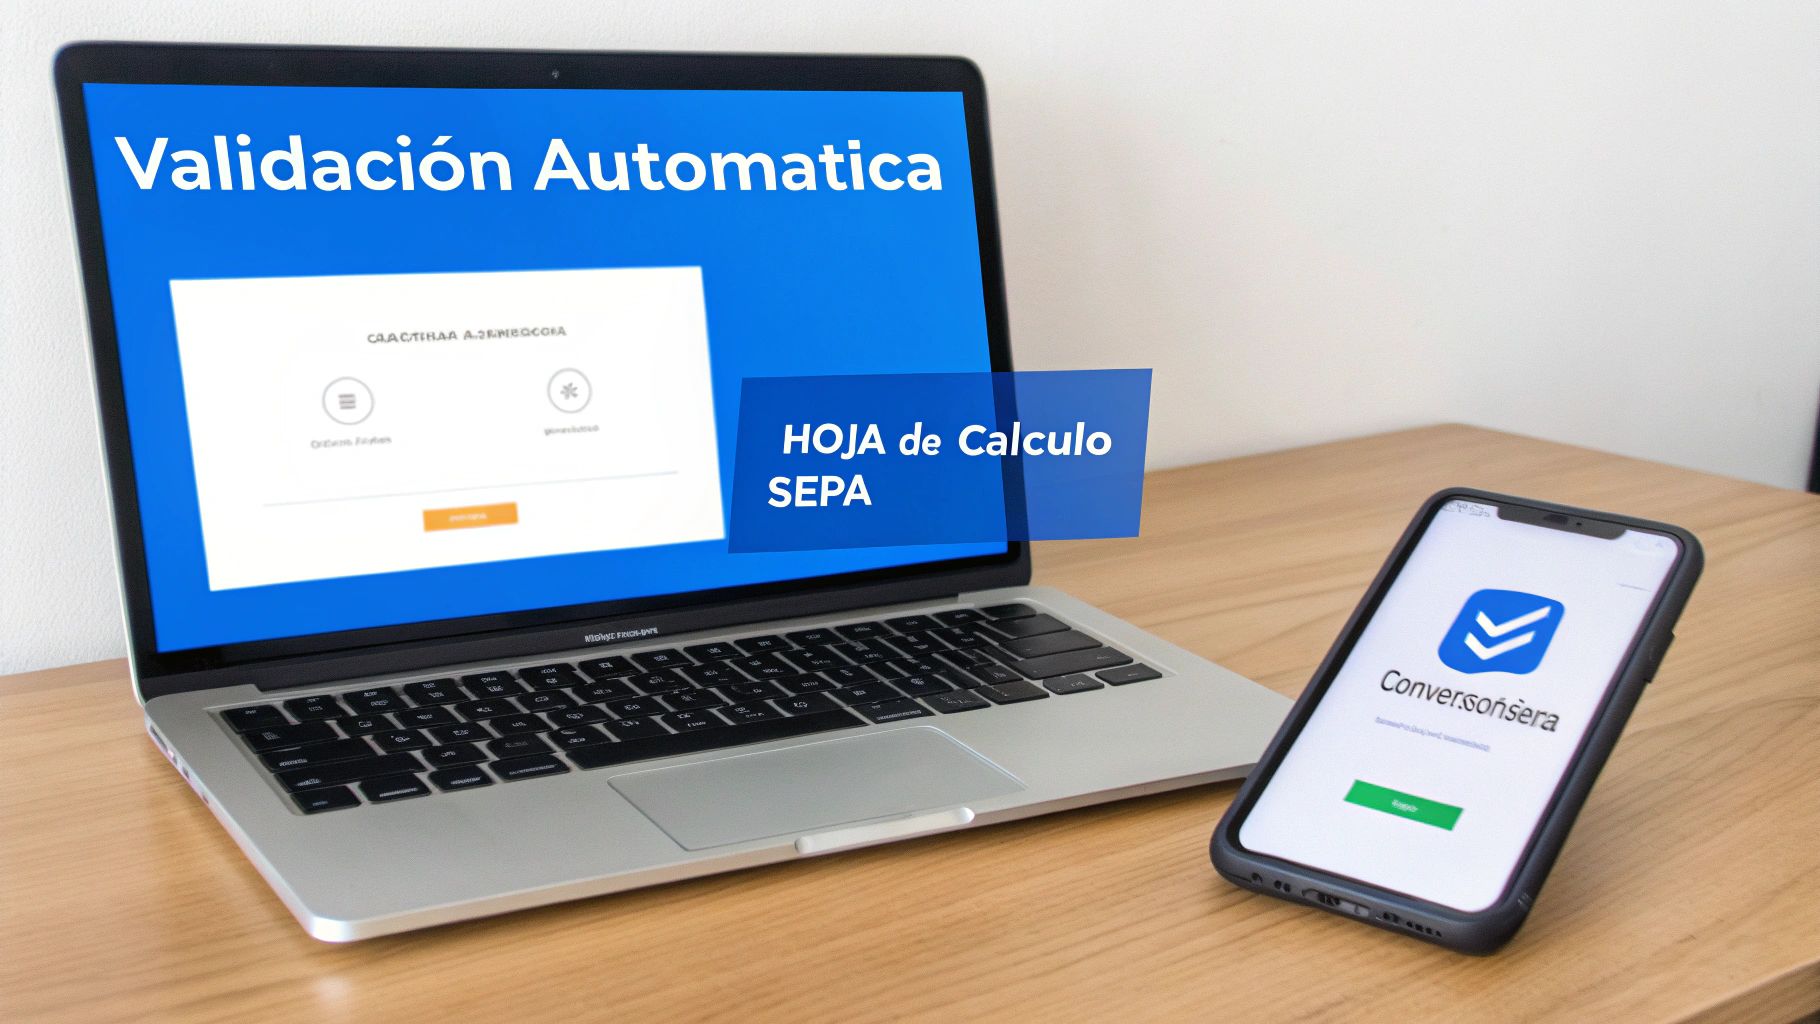
Automatic validation: your best shield
Once you have mapped the fields, the real magic begins: validation. Before the final XML file is generated, the tool reviews each piece of data to check that it is correct.
This automatic check is crucial. It can detect if your creditor identifier is missing a digit, if the characters are correct or if a customer’s IBAN has an invalid format. It works like a filter that saves you the frustration and cost of bank returns.
Imagine that, by mistake, you enter your tax ID instead of the full identifier. The system would immediately warn you that the format does not meet the SEPA structure. This help is especially valuable for businesses that have been managing the old bank transfer books, where data structures had nothing in common.
If you want to go a step further, you can even use specific tools such as an online IBAN validator to make sure your customers’ account numbers are correct before putting them in the batch.
In the end, using these solutions is not just a matter of convenience. It is a smart strategy to ensure the integrity of your collections, minimise human error and maintain a healthy, surprise-free cash flow.
Common identifier errors and how to fix them
Even when you are very careful, managing the SEPA creditor identifier can sometimes trip you up. A small mistake can bring an entire batch to a halt, but the good news is that most problems are well known and have a fairly straightforward solution if you know where to look. Detecting them in time is key to keeping your cash flow healthy.
By far the most common error is confusing the company’s tax ID (NIF or NIE) with the full identifier. Do not forget: your tax ID is only one piece of the puzzle. The valid identifier always starts with the country code (ES in our case) and follows a very specific structure with check digits and a suffix. If you use only the tax ID, the bank will reject the batch immediately.
Another source of problems is errors when typing it manually. A single wrong digit, a letter in the wrong place or a space where it should not be is enough to make the code invalid.
When a bank file is rejected, the first golden rule is very simple: do not try to fix it blindly. The error message from the bank is the first clue, but your account manager has the final word and confirmation.
Quick guide to problems and solutions
To get straight to the point, here is a list of the most common mistakes and what to do in each situation. Think of it as your first-aid kit for when a batch goes wrong.
- Suffix not activated: You request a new suffix for a business line (for example “001”), but you start using it before the bank has formally activated it in their system.
- Solution: Always call your account manager to confirm that the new suffix is operational. Never, under any circumstances, use it until they give you the green light.
- Identifier inactive: You have been given your new identifier, but the bank has not yet finished activating it in their central system.
- Solution: Ask your bank what the exact activation period is. Sometimes, receiving the code and being able to start operating with it are not immediate.
- Error in the file format: Here the identifier is correct, but you have put it in the wrong field in the XML file, or the file has some other technical fault in its structure.
- Solution: Rely on validation tools or platforms like ConversorSEPA. They ensure the XML file is generated without errors and that each piece of data goes exactly where it should.
The key is to act methodically. First, check that the data itself is correct. Then, confirm that it is active at the bank. And finally, review the technical format of the file. By following these steps, you will resolve 99% of issues quickly and without headaches.
Frequently asked questions about the creditor identifier
At this point, it is normal to still have some practical questions about how the SEPA creditor identifier works on a day-to-day basis. Let us answer the questions that often arise in any administration department.
Can the same company have several identifiers?
Yes, without any problem. Although it is most common for a company to work with a single main identifier, you can always ask your bank to assign you additional identifiers.
The key lies in the business suffix, those three digits that go from 000 to 999. This is a very useful strategy if you need to organise collections by different business lines, branches or types of service. This way, accounting and income tracking become much simpler.
Difference between identifier and mandate reference
This is undoubtedly one of the most common confusions. To make it clear, we will use a simple analogy:
- The SEPA creditor identifier is like your company’s ID card for collecting. It is a unique code that identifies you as the creditor in the entire European banking system.
- The Mandate reference is like the contract or invoice number you have with each customer. Each customer who signs a direct debit authorisation for you will have their own reference.
In short: you will have one creditor identifier (or several with different suffixes to organise yourself), but you will generate one unique, different mandate reference for each customer you will charge. Both pieces of data are mandatory, but they serve different purposes.
Do I need the creditor identifier to make transfers?
No, not at all. The creditor identifier is a requirement exclusively for issuing collections through domiciled direct debits, i.e. for charging customers. Its only function is to identify you as the company initiating a charge on a customer’s account.
If what you want is to send money by SEPA transfers, whether one-off or bulk (such as payroll payments), you only need the IBAN of the destination account. The creditor identifier is not involved in payment operations, only in collection operations.
Related tool: Need a Creditor ID ready in seconds? Generate and validate yours from your tax ID with our free SEPA Creditor Identifier tool — and once you have it, build the matching customer document with the SEPA mandate generator.
At ConversorSEPA, we make sure you manage all this data without making mistakes. Our platform validates your identifier automatically and maps your Excel or CSV files to generate the perfect bank XML in seconds. You will save time and, above all, avoid returns. Find out how at https://www.conversorsepa.es.
Frequently Asked Questions
- What is the format of the SEPA creditor identifier in Spain?
- The identifier follows the structure ESZZXXXAAAAAAAAA: the first two characters are the country code (ES), positions 3 and 4 are mathematically calculated check digits, positions 5 to 7 are the business suffix (default 000), and from position 8 onwards is the company tax number (NIF or NIE). For example: ES220000B12345678.
- What is the difference between the SEPA creditor identifier and the mandate reference?
- The creditor identifier is unique to your company and identifies you as an authorised direct debit issuer across the European banking system. The mandate reference (UMR) is a separate code assigned to each individual customer who signs a collection authorisation. A company has one or a few creditor identifiers, but a unique mandate reference for every domiciled customer.
- Can I have multiple SEPA creditor identifiers for different business lines?
- Yes. The creditor identifier includes a three-digit business suffix (positions 5 to 7) ranging from 000 to 999. You can ask your bank to activate additional suffixes (001, 002, etc.) to separate collections by branch, product line, or any internal criterion. Each active suffix generates a distinct identifier, though all share the same tax number.
- Do I need a SEPA creditor identifier to make bank transfers?
- No. The creditor identifier is required exclusively for issuing direct debits, that is, for collecting payments from customer accounts. If you only need to send money via SEPA transfers, whether one-off or in bulk such as payroll runs, you only need the recipient IBAN. The creditor identifier plays no role in outbound payment operations.